If you have decided that you want to switch to Linux on a permanent basis, the first thing that you need to do is to install a Linux distribution on your computer. One of the most popular and user-friendly Linux distribution is Ubuntu. In this tutorial, we will show you the steps to install Ubuntu from a USB drive on your computer.
Note: This tutorial does not deal with dual-booting. We assume that you are installing Ubuntu on a computer with brand new hard drive, or a hard drive that can be fully formatted.
Getting the ISO
Before we can get started, we will need to download the Ubuntu ISO file here. Ubuntu is updated every six months and the stable Long-term Support (LTS) version is updated every two years. As of this post, the latest version as of this post is Ubuntu 19.10, while the latest LTS version is Ubuntu 18.04. If you prefer to have an Operating system that is stable, I would advise using Ubuntu 18.04. If you prefer cutting edge technology, then you can go for Ubuntu 19.10.
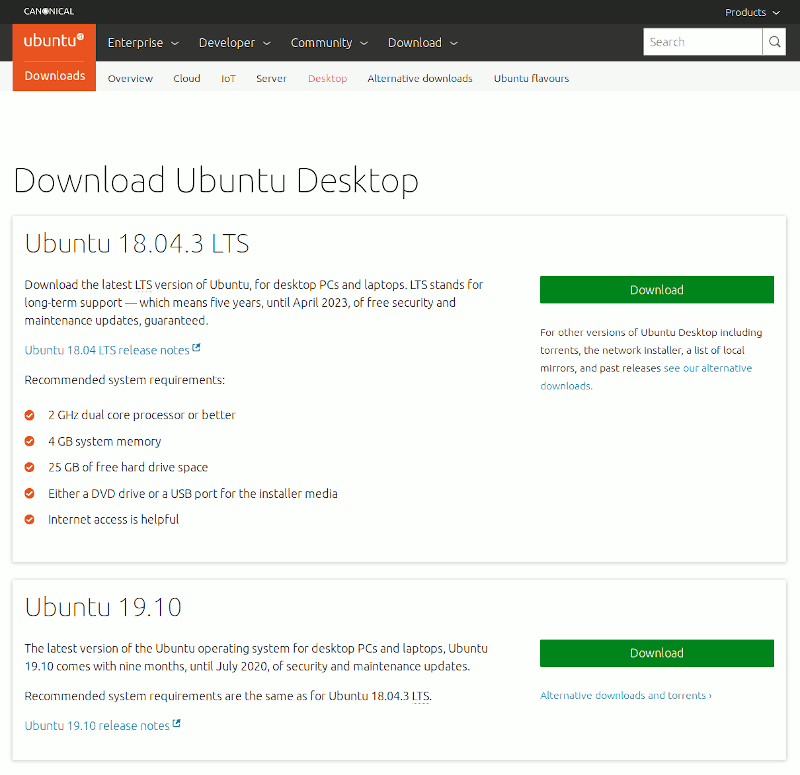
Click the “Download” button and save the ISO file to your desktop.
Preparing the Bootable USB Drive
Now that we have the ISO file file, the next step is to prepare the bootable USB drive. This will allow us to install Ubuntu on your computer from the USB drive. You will need a USB drive that is 2GB or bigger. All the data will be formatted during the creation process, so make sure you back up your USB drive before you continue.
1. Download balenaEtcher. This is a software that allows you to easily create bootable USB drive. balenaEtcher is cross-platform compatible, so you can download and use it irrespective of your operating system.
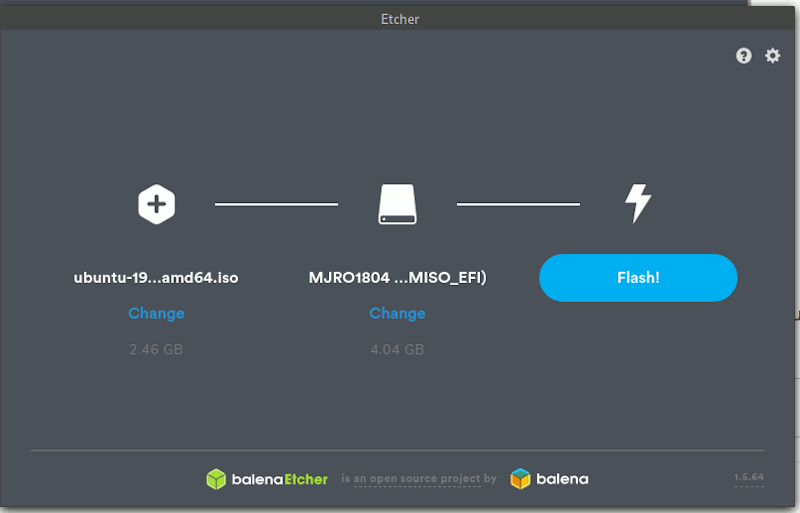
2. Insert your USB drive into your computer and run balenaEtcher.
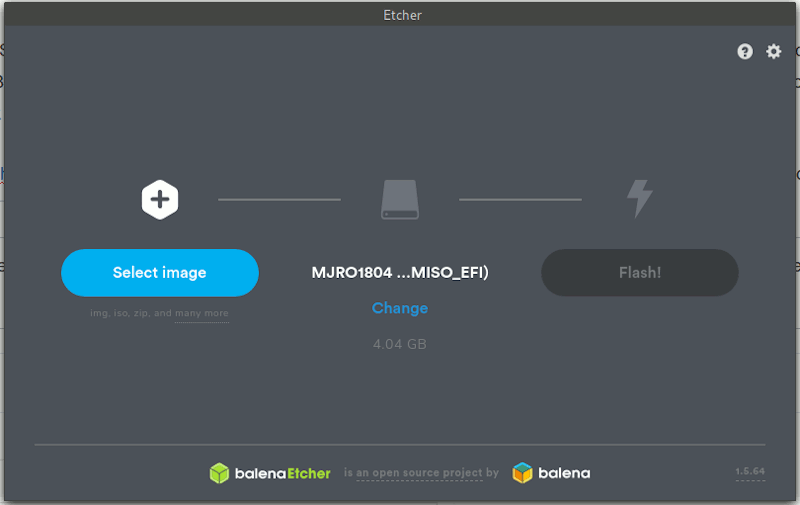
Click the blue “Select Image” button and select the ISO file you downloaded earlier. Make sure the center icon is showing your USB drive.
3. Click the “Flash” button.
Wait for the process to finish. It might take a while. Once finished, remove the USB drive from the computer.
Install Ubuntu from USB Drive
1. Plug the USB drive into the computer that you want to install Ubuntu. Power the computer on.
2. On the startup screen, press F2, F12, or Del (depending on your motherboard configuration) to get into the BIOS. Scroll through the various options until you reach the “Boot Sequence” screen. Select the USB drive as the first in the boot sequence. This will ensure the computer will boot up the USB drive first.
3. Once the booting up is finished, you will reach the Ubuntu desktop, with a welcome screen.
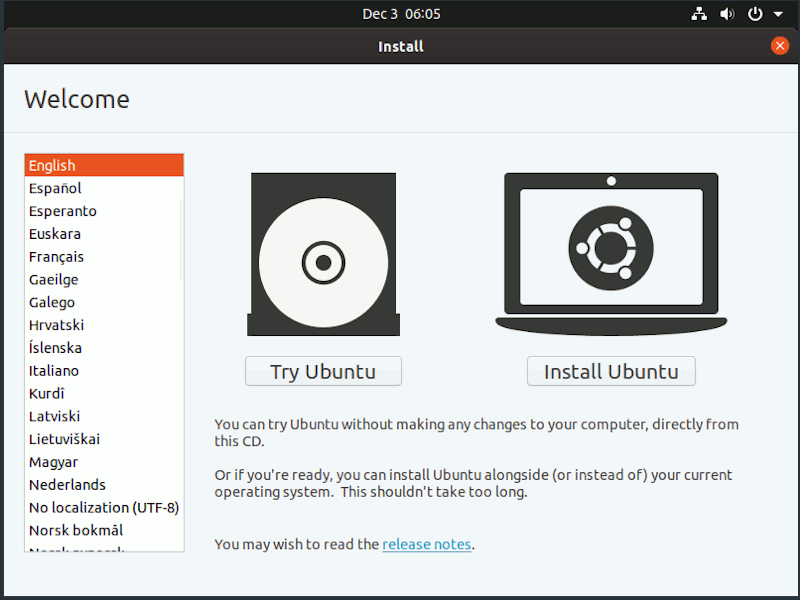
Click on the “Install Ubuntu” button to get started.
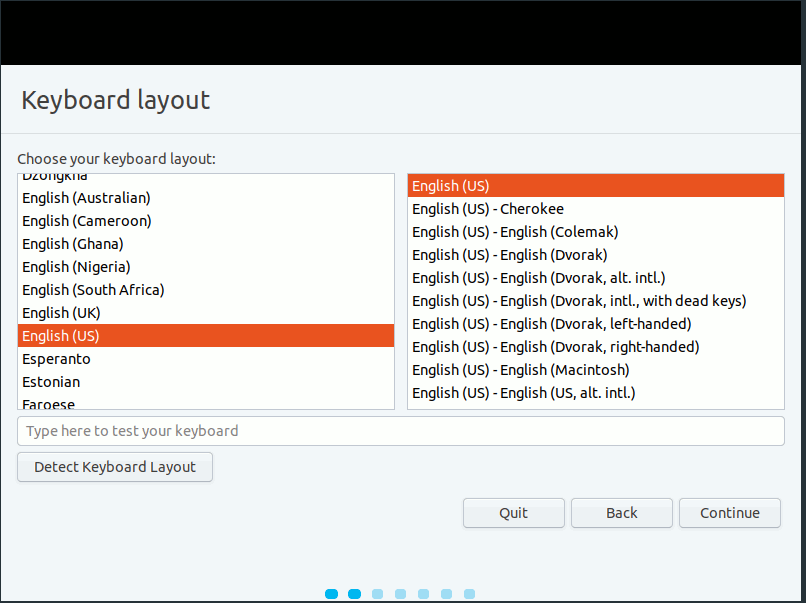
4. In the next screen, select your keyboard layout.
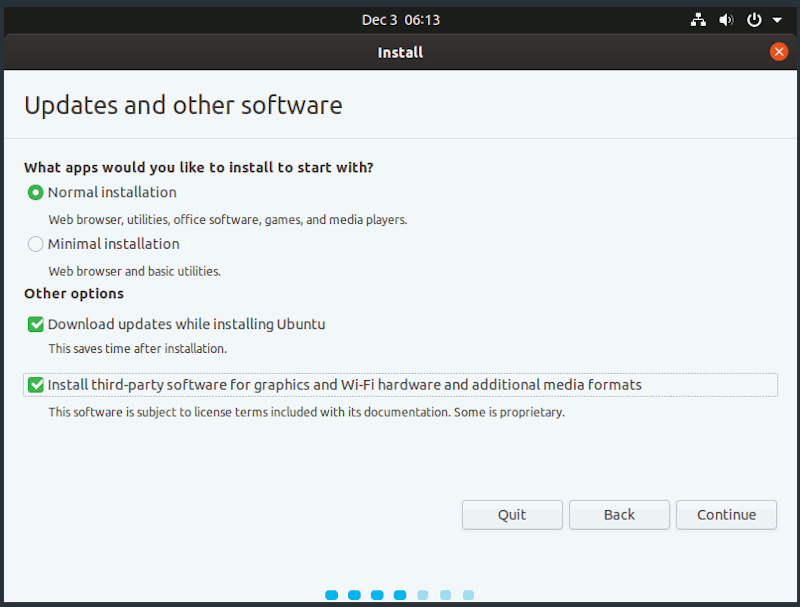
5. Select “Normal installation”. In the “Other options” section, you can select if you want it to download updates while installing Ubuntu. This will require your computer to be connected to the Internet. Click “Continue”.
6. In the next screen, select “Erase disk and install Ubuntu”. This will allow Ubuntu to erase the whole disk, setup the disk partition and install Ubuntu. Optionally, you can select “Encrypt the new Ubuntu installation for security” so that the disk is encrypted. This will require you to enter a unlock password during boot up.

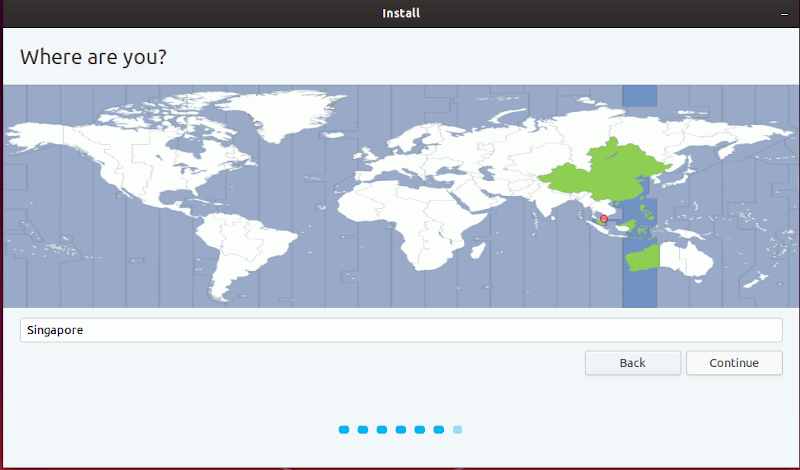
7. Next, it will prompt you for your location. The input field should be prepopulated with your location. If not, select it from the map.
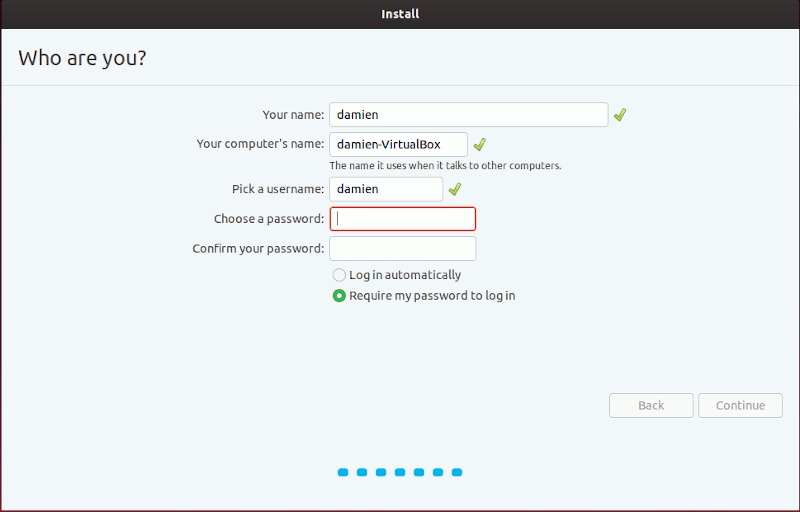
8. In the last screen, you just have to enter your login username and password.
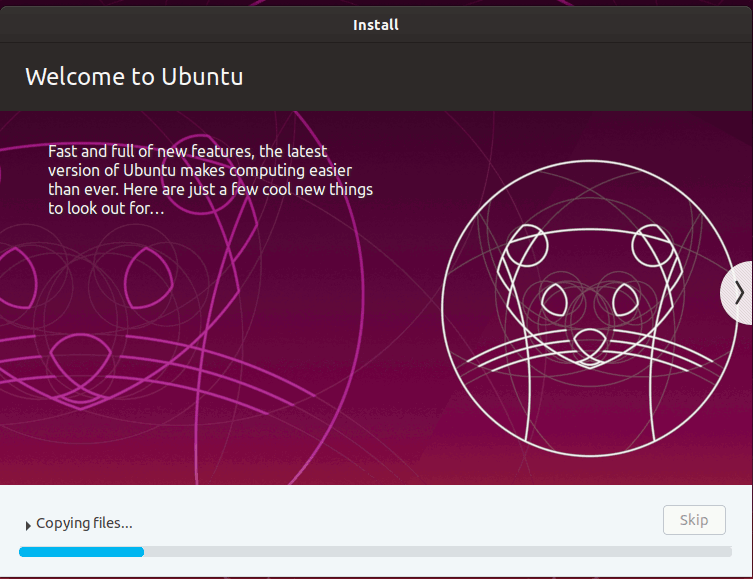
Now, just sit back and wait for the installation to finish.
You should see the following message after the installation is complete.

Click the “Restart Now” button. When it restart, remember to remove the USB drive from the computer.
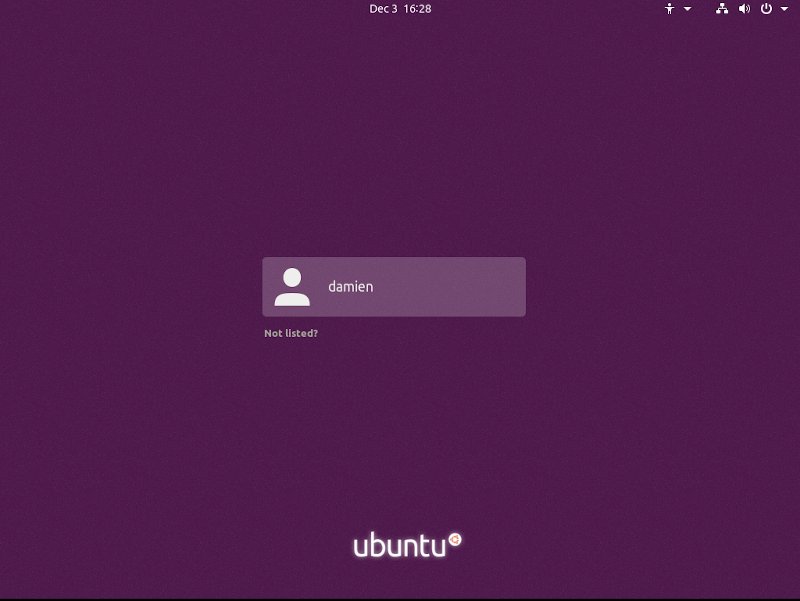
At the next boot up, you should now see the login screen.